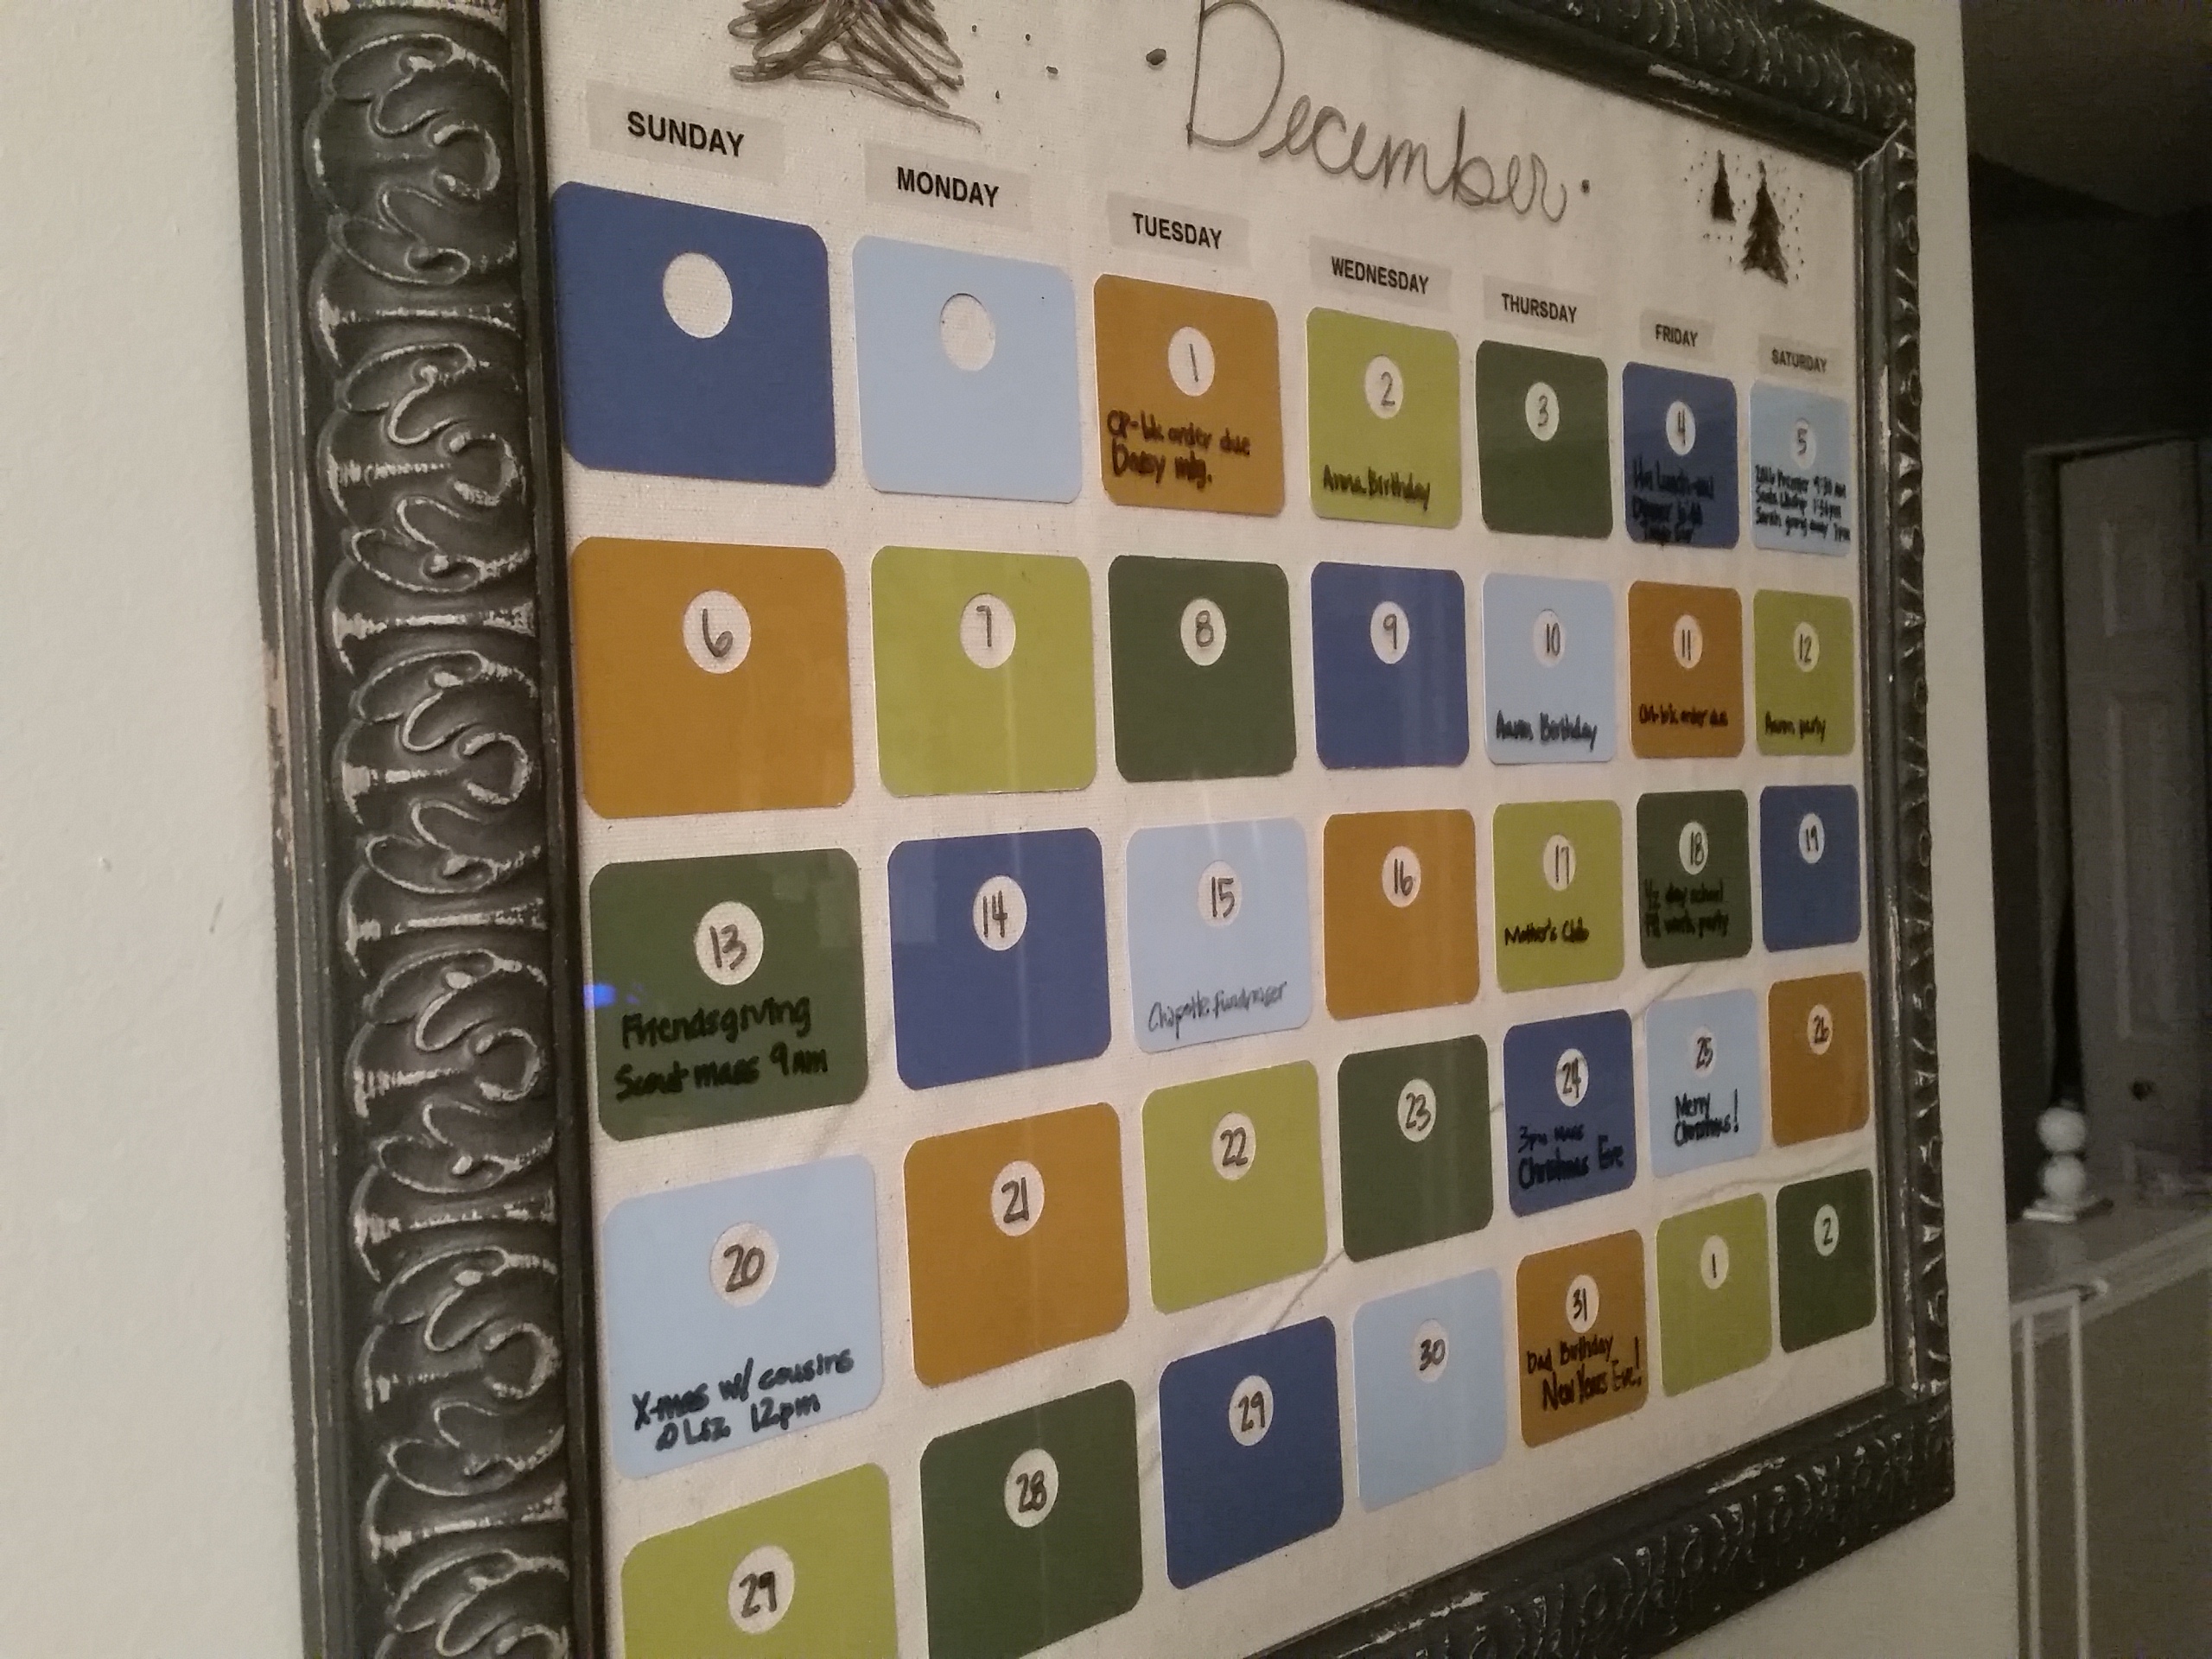
It’s the second day of Christmas and what is your blog friend giving to you?! Well a dry erase calendar, of course!! And I am not talking about a 8 x 11 white board hanging from a string, found on the outside of a patient room door at your kid’s pediatrician’s office. This is chic and colorful and can be designed to compliment ANY room of your home. So let’s get started!
Below is the list of supplies you will need:

- picture frame (I recommend 11″ x 14″ or larger)
- Fabric approximately 18″ x 24″ in size. The fabric you will see below is a natural woven canvas. I purchase my material by the yard because I make more than 1 at a time.
- spray adhesive or hot glue
- paint chips (assorted, totaling 35)
- glue dots or removable adhesive tape
- scissors
- paper cutter with ruler
- hole punch- large round (if desired)
- corner rounder (if desired)
- credit card (or straight edge that won’t cut)
- carpet blade
- dry erase marker
First, lay out your fabric (iron if necessary, you don’t want any wrinkles on your masterpiece) design face down on your work surface. Remove the back of the picture frame and set glass aside. Using your spray adhesive, liberally apply to the face of the picture back. Be sure to cover sides and corners well. Because we are looking for a permanent bond, you are going to want to adhere directly to the back of the fabric almost immediately. Once the fabric and adhesive are bonded, flip over. Using your straight edge, work out any creases from the center to the edges. Any overhang of fabric can be trimmed using a carpet blade. (If you use the hot glue gun, you’re going to want to wrap the fabric around to the back and tack with additional hot glue.) Set aside and allow to dry for 30 minutes to an hour.
While waiting for the material to complete its bond, let’s work on those paint chips. Depending on the manufacturer you decide to pull your colors from, the samples will vary in size. I typically cut each paint chip to approximately 3″ x 2-1/2″. Again, this can vary depending how large or small you want each “day” to be as well as your size frame. If you so choose, you can now use a large, round hole punch to punch the chip. (This is where I like to write the date.)
Meanwhile back on the farm…(or on the dining room turned craft table) it is now time to layout your chips. Laying the back of the frame down, dry lay your chips making sure you are happy with the pattern and/or order of colors. (You would be surprised how switching out 2 colors could make or break a design- or, I’m just that crazy!) Once you’ve achieved the layout you like you are ready to adhere to the fabric. I suggest using glue dots or removable adhesive so that in the event you decide to move that calendar to another room or repaint the room it’s in, you can easily go back and change out the colors of the chips!
Sidenote: If you aren’t really one who changes and are looking for an even easier method, you can use a sharpie marker and draw the calendar grid directly onto the fabric (I would only recommend doing on a tight muslin or canvas). This eliminates the need for the paint chips entirely and you can continue with the steps below!
We’re almost there….
Once all the “days” have been affixed to the fabric, it is time to put your picture frame back together. After you have the back fastened flip over. Take your dry erase marker and enter the dates over the hole punches on each “day”, don’t be afraid to doodle. Make it your own. Best part? Life changes and so can this. With a swipe of a finger or napkin you can erase that lunch date and add a reminder for the school science fair. There is no longer a need for scratches. and circles. and arrows. (Seriously, my calendars used to turn into HOT-HOT messes. Now I look organized, even when my life is totally the opposite!) So start filling up your days because now you have somewhere SUPER cute AND handmade to put all those play dates and doctor appointments (and maybe the occasional mom’s night out).
XO,
Melissa


